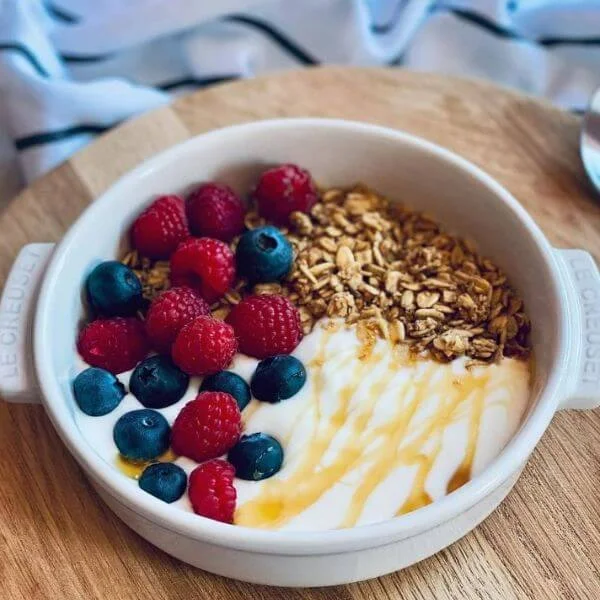
Making homemade yogurt is easier than you think. Every morning, I literally wake up excited to eat my breakfast. In fact, I love my routine and my breakfast so much I happily eat the same thing for breakfast every day! I keep it simple with a banana, my homemade yogurt, and top it with muesli and raisins. And then, after seeing mom successfully made yogurt at home (and finding out it tasted wayyy better than store bought yogurt), I decided to start making it myself!
There are tons of benefits to making homemade yogurt, which include
- Having power over what kind you make
- Getting to adjust the recipe to your liking
- Saving money on your grocery bill
- Giving you something to chat to people about
- Having a cool thing you made to share with people
- It tastes way better than regular store bought yogurt!
If your someone who struggles with keeping your energy levels consistent throughout the day (ahem, I am talking to you 2 pm nappers), this is a perfect breakfast substitution for you!
Some context about me, I eat super clean. I pretty much don’t eat any processed foods and hardly every eat anything with added sugars, it just ruins my gut. I am also studying to be a dietitian! With all this information and eating what the world says is “healthy”, I was still tired by the afternoon and could not focus for the life of me.
I used to eat oatmeal for breakfast every day, and although it was delicious, high in protein, and had tons of fiber – I was still tired by the afternoon. Until I switched over to my yogurt bowl.
Turns out – even a ‘healthy’ food like oatmeal was too high in carbohydrates for that time of day, and was leaving me to crash by mid day! Switching to something lighter, high in fats (which our bodies use for longer term energy!) and high in protein got me focused and feeling way better than I used to. I was even sleeping better!
I even have a post about great high protein snacks that acheive this same goal. You can read about it here 🙂
Anyways, now that you’re totally convinced that you need to get on the yogurt routine – lets jump into it.
Homemade Yogurt Supplies
First off, there are a couple things you need in order to make your own yogurt
- Half Gallon Pot
- Spoon
- Mixing bowls
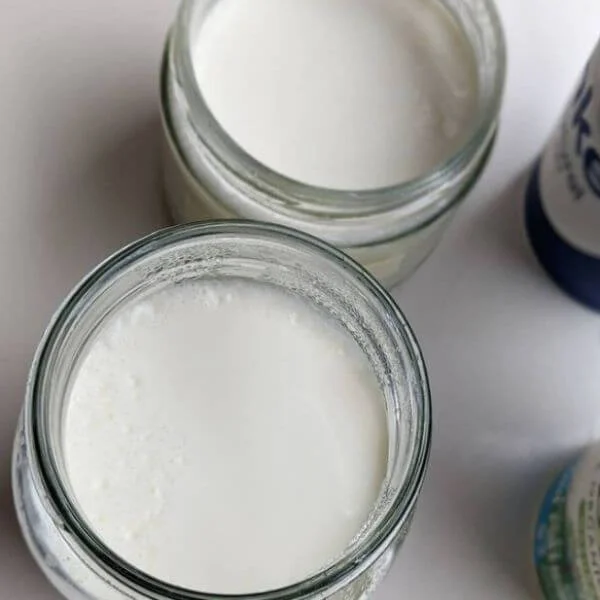
- Yogurt Containers (comes with the maker I have linked)
- Yogurt Maker
- Candy Thermometer
The yogurt maker and the containers are pre portioned and perfect for any college student. The maker is also super affordable and works really well. Here’s the yogurt maker I use.
The only downside is you need to be there to pull the yogurt off after the 8 to 10 hours you set it for. This maker doesn’t automatically shut off. If you’re looking for something that times itself, here is a good option.
And that’s it! Super simple and doesn’t require a lot.
Ingredients
Our ingredient list is pretty simple when we are making homemade yogurt
- 4 and 1/2 cups Milk (I use whole but you can use any other kind. Just note differences in cooking time)
- 5oz Plain Greek Yogurt
- 1/3 Cup Cane Sugar
- 3 Teaspoons Vanilla Extract
You can also use half the amount of sugar if you want. Basically the role of the sugar in yogurt is to feed to bacteria that comes from the greek yogurt and it turns milk into yogurt so they can multiply. Essentially the less sugar you add, the less the bacteria grow and the thinner your yogurt will turn out. Since I love thick yogurt – I choose to do the full 1/3 cup of sugar and enjoy a thinker yogurt each morning!
Yogurt Recipe
- Turn on yogurt maker and allow to heat up
- Heat milk in saucepan to 180 degrees F.
- Take milk off heat and set aside to cool to 110 degrees F.
- You can speed this process up by putting the pot in a cold water bath.
- While you wait for the milk, combine greek yogurt, sugar, and vanilla extract in a bowl
- Once the milk reaches 110 degrees F, take out 1 cup and add to the greek yogurt mixture
- Wait for milk to reach 97 degrees F
- Combine mixtures
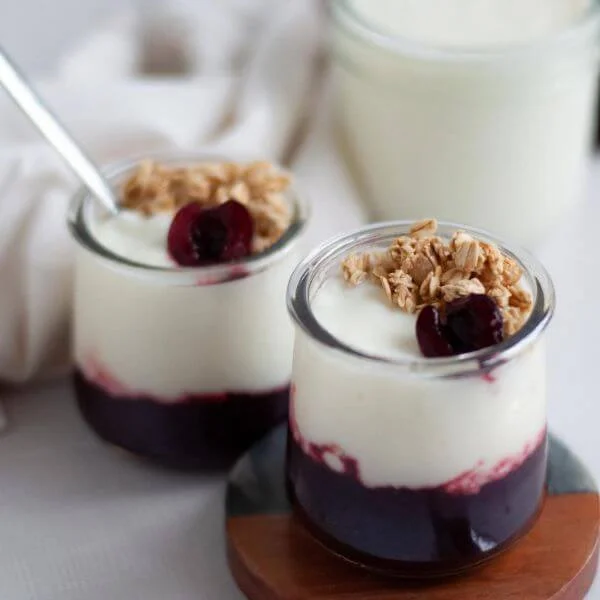
- Evenly distribute into yogurt containers
- Place filled yogurt containers into yogurt maker and place lid on top
- Wait for desired hours (usually 8 to 10, depending on milk and thickness, read below)
- Pull off yogurt maker and put lids on and place in fridge
- Done!
Easy as that! For the time you leave your homemade yogurt in the yogurt maker, you can adjust based on how thick you want it. With whole milk I do 8 and a half hours and that’s perfect for me. Skim milk may take 12 hours to reach the same thickness (remember less sugar means it harder for the bacteria to divide, thus taking them longer as they have to convert the lactose into glucose before utilizing it!)
P.S. here is a fahrenheit to celsius converter – because who really knows the conversion off the top of thier head?
Thats it! Its super easy and more affordable to make you own yogurt rather than buying it at the store. Not only that, but homemade yogurt is (in my opinion) way better tasting! I hope you try this yourself or send your local college kiddo the supplies they need to start making their own yogurt!
Thanks for reading! 🙂


One Response